Marine Wiring Tools Every Owner Needs

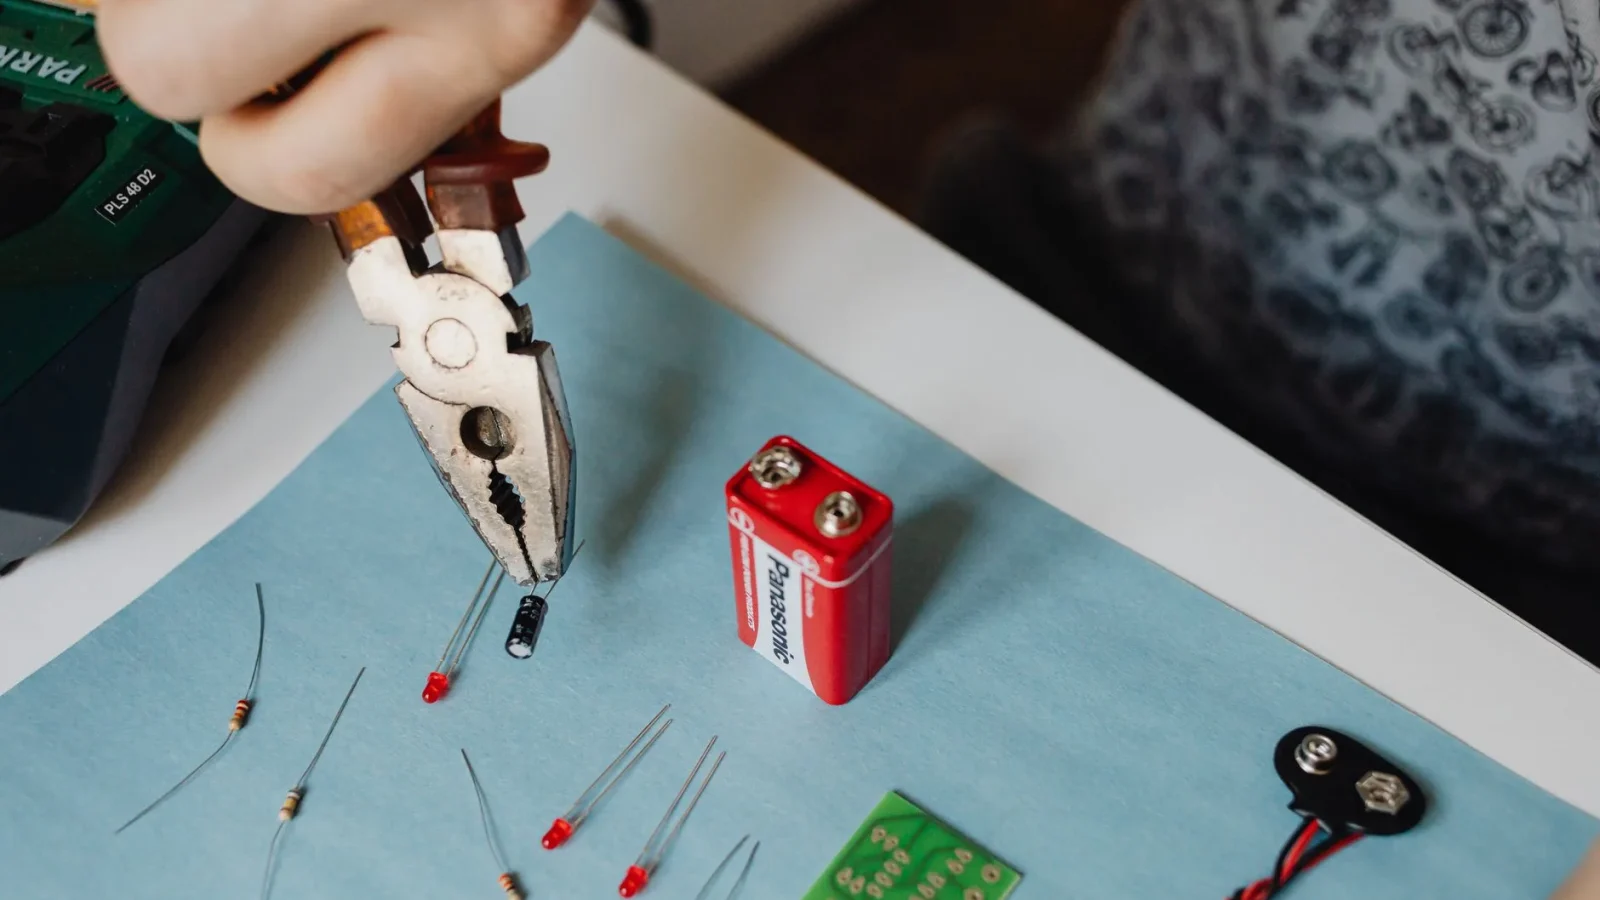
Saltwater finds every mistake. A crimp that would last a decade in a garage lasts two seasons on a boat, and the difference almost always traces back to the tools that made the connection. I’ve opened panels where the previous owner clearly used what was in the kitchen drawer, and I’ve opened panels where someone spent real money on the right gear. You can tell within thirty seconds which one you’re looking at.
The good news: a proper kit of marine wiring tools costs less than one dockside service call, and most of these pieces last for years. You do not need a rolling toolbox. You need eight or nine specific items that do their jobs correctly in a damp, cramped, moving environment.
Below is the list I’d hand a friend who just bought their first boat and wants to stop paying someone to swap a bilge pump.
1. A ratcheting crimping tool (start here)
If you buy one thing, buy this. A ratcheting crimper squeezes the connector in stages and won’t let go until it reaches full compression, so every crimp comes out the same. AWG, by the way, stands for American Wire Gauge, the numbering system where a smaller number means thicker wire.
The cheap plier-style crimpers that come free with a connector assortment feel fine in your hand and produce connections that fail under vibration. On a boat that pounds through chop, vibration is constant. A ratcheting tool in the $30 to $70 range solves this permanently.
Look for one that handles insulated connectors from roughly 22 AWG up to 10 AWG. That range covers navigation lights, pumps, stereo runs, and most accessory circuits. If you’re unsure which wire size a given circuit calls for, our guide on How to Choose Marine Wire Gauge walks through it with real amp and length numbers.

2. A dedicated wire stripper
Stripping wire with a knife nicks the copper strands, and nicked strands break one by one until the connection overheats. A proper stripper has notched jaws sized to each gauge so it cuts only the insulation.
Buy a stripper that clearly marks 10 through 18 AWG on the jaws, since that’s the working range for most 12V systems. Expect to spend $12 to $25. The self-adjusting “squeeze and it grabs any size” models work, but I find the simple notched kind gives cleaner results on the fine tinned strands used in marine cable.
Speaking of which: on a boat you want tinned copper wire, meaning each strand is coated in tin so it resists corrosion. Bare automotive wire turns green inside the insulation within a couple of seasons.
3. A heat gun and adhesive-lined heat shrink
This is the pairing that separates marine work from car-audio work. Adhesive-lined heat-shrink connectors have a ring of glue inside that melts and seals the joint against water when you heat it. A heat gun shrinks them evenly without scorching.
A basic heat gun runs $20 to $40. You can technically shrink tubing with a lighter, but you’ll char the insulation and miss spots, and the seal is the whole point. The American Boat and Yacht Council, whose standards most insurers and surveyors follow, treats sealed connections as the expectation in wet locations. You can read their overview at abycinc.org.
4. A multimeter
A multimeter measures voltage, resistance, and continuity, which is a fancy way of saying it tells you whether electricity can flow through a wire. For 12V work you do not need a $200 unit. A $20 to $40 meter with a DC volts setting and a continuity beep does everything you’ll ask of it for years.
The single most useful reading is voltage at the device versus voltage at the battery. If your battery reads 12.6 volts but your bilge pump only sees 11.4, you’ve found voltage drop, the loss of pressure that happens over long or undersized wire runs. That gap is exactly what our piece on Understanding Voltage Drop on Boats helps you diagnose and fix.
5. A test light
A simple test light is a probe with a bulb and a ground clip. Touch the probe to a terminal, and if the bulb lights, power is present. It’s faster than a meter for the yes/no question of “is this wire live,” and it costs about $8.
I keep both on the boat. The meter tells me how much; the test light tells me whether, instantly, while I’m holding a flashlight in my teeth in a locker. For a beginner working through the fundamentals, the combination pairs well with the walkthrough in our 12V Boat Wiring Guide for Beginners.
6. Marine-grade connectors and heat shrink terminals
Tools are only half the job; the consumables matter just as much. Stock a small assortment of tinned ring terminals, butt connectors, and spade connectors in adhesive-lined heat-shrink form. Match them to your gauges: yellow bodies for 10 to 12 AWG, blue for 14 to 16 AWG, red for 18 to 22 AWG.
A boat I rewired last spring had a mix of bare crimp connectors and household wire nuts twisted onto the anchor windlass feed. Wire nuts rely on gravity and friction, both of which fail on a rolling deck. Every one had backed loose. The whole harness got replaced with heat-shrink butt connectors and hasn’t been touched since.
| Connector color | Wire range (AWG) | Typical circuits |
|---|---|---|
| Red | 18 to 22 | Nav lights, sensors, small LEDs |
| Blue | 14 to 16 | Cabin lights, small pumps, stereo |
| Yellow | 10 to 12 | Bilge pumps, blowers, accessory feeds |
7. Circuit protection and a fuse assortment
Every circuit needs protection sized to the wire, not just the device. Keep an assortment of blade fuses (5, 10, 15, 20, and 30 amp is a sensible spread) and know where each circuit’s breaker or fuse lives before you start working.
Choosing between the two protection styles trips up a lot of owners, and the honest answer is “it depends on the circuit.” Our comparison of Fuses vs Circuit Breakers on Boats lays out when each makes sense. If you’re adding an inverter or shore charger, the current involved is a different animal, and the Boat Inverter and Charger Guide covers the heavier protection those systems demand.
8. The small stuff that saves the day
A few inexpensive extras earn their spot in the bag every single trip. None of these cost much, and every one has bailed me out at an inconvenient moment.
- Cable ties and adhesive mounts: unsupported wire chafes through against a bulkhead. Support runs every 18 inches or so.
- A headlamp: both hands stay free, which matters in a bilge or behind a helm.
- Dielectric grease: a dab on terminals slows corrosion in exposed spots.
- A label maker or waterproof marker: label both ends of every wire. Future you will send a thank-you note.
- A sharp flush cutter: for trimming ties and stripping back cleanly.
What to buy first if the budget is tight
If you can’t buy it all at once, spend in this order: ratcheting crimper, then a bag of adhesive-lined connectors, then a heat gun, then a multimeter. That sequence lets you make watertight connections immediately and troubleshoot soon after, which covers the vast majority of jobs a new owner faces.
The mistake I see most weekends is someone with a $150 cordless drill and a $4 crimper, wondering why their new fish finder keeps cutting out. Flip that ratio. Put the money into the tools that touch the copper.
Get these eight items sorted and you’ll handle bilge pumps, lights, accessory circuits, and most troubleshooting without a service appointment. For a broader look at how it all connects, the 12V Boat Wiring Guide for Beginners ties the tools to the wiring itself. Buy once, buy right, and enjoy the quiet confidence of a panel you actually trust.
Frequently asked questions
Do I really need a ratcheting crimper, or will cheap pliers work?
Buy the ratcheting crimper. It releases only at full compression, so every crimp is consistent and holds up to constant vibration. Plier-style crimpers feel fine in hand but produce joints that loosen and fail on a moving boat. A good ratcheting tool runs $30 to $70 and lasts years.
Why can't I just use regular automotive wire and electrical tape?
Bare automotive copper corrodes inside the insulation within a couple of seasons in a marine environment. Use tinned copper wire, where each strand is tin coated to resist corrosion. Skip electrical tape entirely; it unwinds in heat and traps moisture. Adhesive lined heat shrink connectors seal the joint properly.
What size fuse should I use for a marine circuit?
Size the fuse to protect the wire, not the appliance. A common blade fuse spread of 5, 10, 15, 20, and 30 amp covers most 12V circuits. Match the fuse to the wire gauge in the run so the wire can never overheat before the fuse blows.
Is a cheap multimeter good enough for boat wiring?
Yes. A $20 to $40 meter with a DC volts setting and a continuity beep handles everything on a 12V system. The most useful reading is voltage at the battery versus voltage at the device, which reveals voltage drop over long or undersized runs. You do not need an expensive unit.
In what order should I buy these tools on a tight budget?
Start with a ratcheting crimper, then a bag of adhesive lined connectors, then a heat gun, then a multimeter. That sequence lets you make watertight connections right away and troubleshoot soon after. A test light and a fuse assortment are inexpensive additions once the basics are covered.