Fish Finder Cost and What to Skip

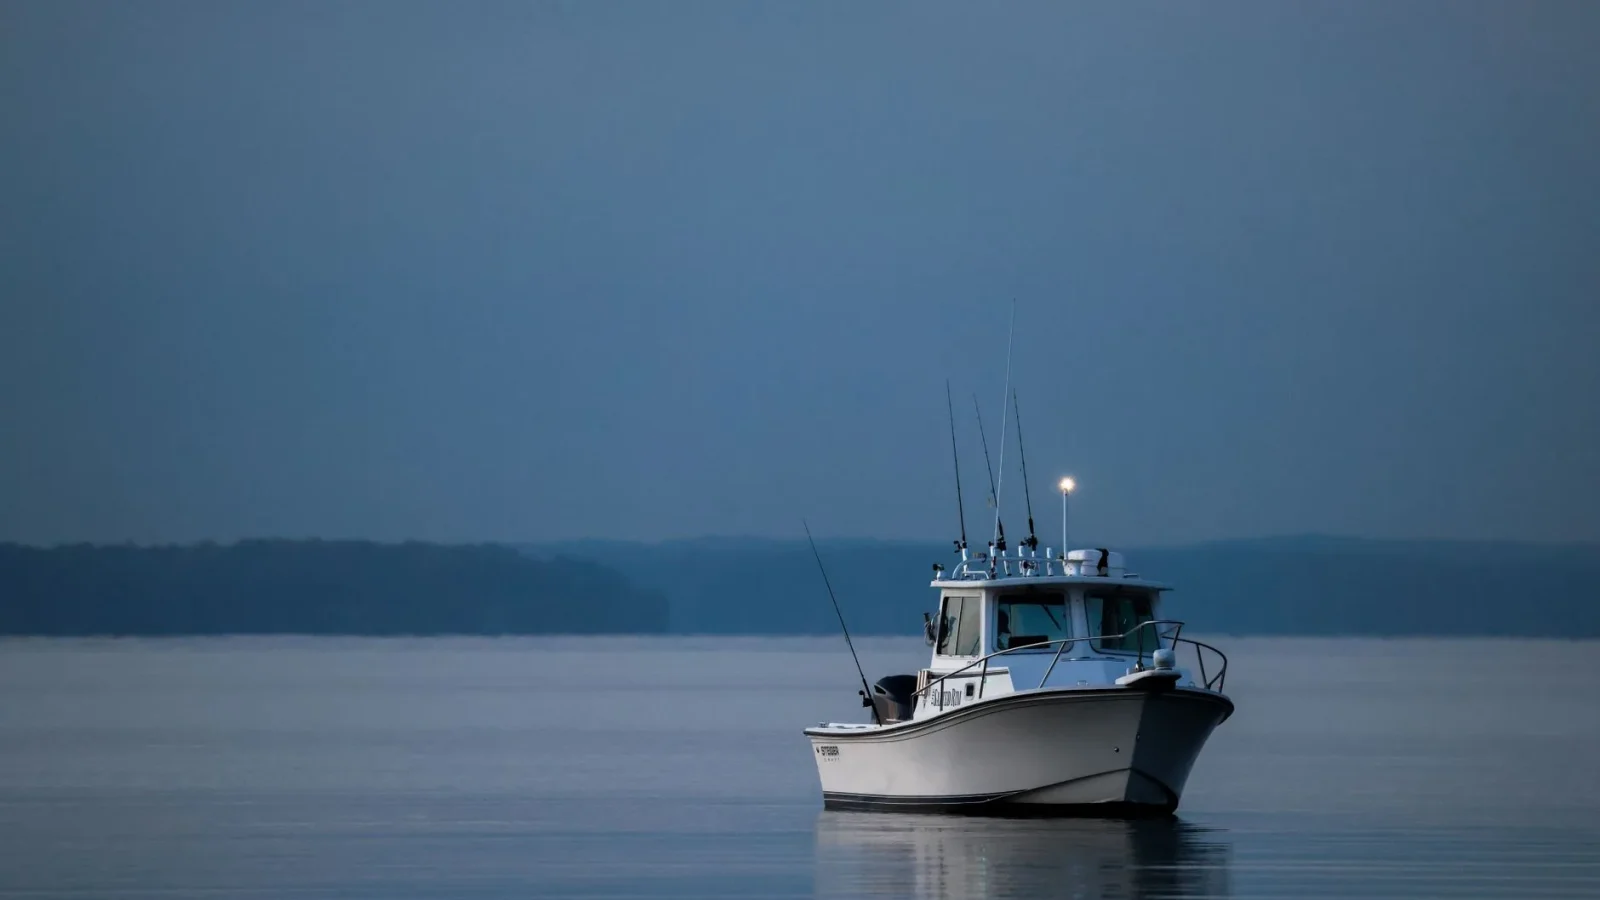
Somebody at the ramp last month asked me what a fish finder “should” cost, and the honest answer was another question: what do you actually fish, and how far from the dock? A dad taking two kids after crappie on a farm pond and a guy chasing walleye across open lake water are shopping in two different price universes. Both of them can overspend, and both can waste money on the wrong thing.
The sticker on the box is only the start. The number that matters is what the whole rig costs once it’s mounted, wired, and reading the bottom cleanly at speed.
So let’s put real dollars on the table and, just as important, name the features you can skip without regret.
What a fish finder actually costs in 2026
Prices have drifted down at the low end and up at the top, so the spread is wider than it used to be. You can walk out with a working sonar for a little over $100, or spend as much as a used outboard on a networked helm.
Here is how the tiers break down for a single unit with a basic transducer included. These are street prices for the head unit and the transducer in the box, not a full multi-screen network.
| Tier | Price range | What you get | Best for |
|---|---|---|---|
| Bare-bones | $120 to $250 | 3.5 to 4.3 inch screen, 2D sonar, maybe basic GPS | Ponds, small tinnies, kayaks |
| Solid mid-range | $300 to $700 | 5 to 7 inch screen, CHIRP, down imaging, GPS charts | Most weekend anglers |
| Serious | $700 to $1,300 | 7 to 9 inch, side imaging, better maps, networking | Frequent anglers, bigger water |
| Premium | $1,300 to $2,500+ | 9 to 12 inch, live sonar, radar-ready, full network | Tournament and hardcore |
Notice the jump between mid-range and serious. That $600 gap mostly buys you side imaging and a bigger screen. Whether that’s worth it depends entirely on how you fish, which is the whole point of thinking in tiers instead of chasing one magic number.

The four things that drive the price
Strip away the marketing and four features explain almost every dollar of difference between two units on the shelf. Understand these and you can read a spec sheet in about thirty seconds.
Screen size and resolution
Bigger glass costs more, and it costs more than the extra inches suggest. Going from a 5-inch to a 7-inch screen often adds $150 to $250, because you’re usually also buying a faster processor and a sharper display to fill it.
For most boats between 16 and 22 feet, a 7-inch screen is the comfortable middle. Smaller feels cramped once you split it, bigger starts eating dash space and budget fast.
Sonar type
This is where beginners get lost, so let me define the terms. 2D sonar is the classic rainbow arch view straight down. CHIRP is a smarter version that sweeps a band of frequencies instead of a single ping, so it separates fish from bottom far better. Down imaging and side imaging use high-frequency sonar to draw near-photographic pictures below and beside the boat.
Each step up costs money. Plain 2D is cheapest, CHIRP adds a little, down imaging adds more, and side imaging is usually what pushes a unit past $700.
GPS and mapping
A bare sonar with no GPS is the cheapest thing on the wall. Add GPS charting and you can mark waypoints, follow tracks, and see contour maps, which is genuinely useful and worth paying for. Preloaded premium charts (Navionics, C-MAP, and the like) can add $100 to $250, though basic built-in maps cover a lot of water for free.
The transducer
The transducer is the sensor that actually sends and receives the sonar pulse, mounted on the transom or through the hull. The unit in the box comes with a basic one, but higher-end transducers (1kW thru-hull, or a dedicated live-sonar pod) can run $200 to $800 on their own. Most inshore boaters never need that.
Budget vs premium: where your money actually goes
A $200 unit and a $1,400 unit both find fish. The difference is how clearly, how fast, and how much else the screen does while it’s at it.
On the budget end, you’re getting 2D sonar, a small screen, and often no GPS. It works. A boat I helped rig last spring for a retiree on a fixed income got a $180 unit on a 14-foot aluminum boat, and he’s caught more bluegill off it than most guys with $1,000 setups. For his pond, spending more would have changed nothing.
The premium end buys clarity and speed. Side imaging shows you a brush pile 60 feet off the bow before you drive over it. Live sonar shows your lure and the fish deciding whether to eat it, in real time. That’s a real advantage on hard-fished water, and it’s genuinely useless if you fish a pond you already know by heart.
The trap is buying premium features for budget fishing. If you’re new and still learning to read a screen, more information faster is not always better. Master 2D and down imaging first. You can always upgrade, and a clean install makes that easy, which is why the Marine Electronics Setup Guide is worth reading before you drill anything.
What to skip, honestly
Here’s where I save you a couple hundred dollars. These are features people pay for and then never use.
- Touchscreen on a small unit. On a 5-inch screen in spray and glove weather, buttons beat touch. Save it for 9-inch and up.
- Networking on a single-screen boat. If you’ll only ever run one display, you don’t need Ethernet or NMEA networking ports. That’s a feature for multi-screen helms.
- Premium charts for home water. If you fish one lake you know cold, the free built-in basemap is fine. Buy premium maps for water you don’t know.
- Oversized transducers. As above, 1kW is overkill inshore. Skip it.
- Live sonar as a first purchase. It’s spectacular and it’s $1,000-plus of spectacular. Learn the basics first.
The real total cost of ownership
The unit price is roughly two-thirds of what you’ll actually spend. The rest is the stuff that makes it work and keeps it working, and it’s the part beginners forget.
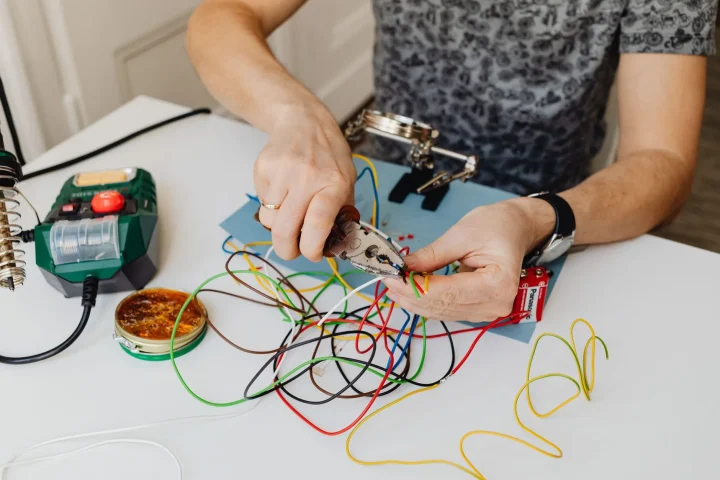
Plan on $40 to $150 for a proper installation kit: marine-grade wire (usually 16-gauge or 14-gauge for a small unit, since these sip current), an inline fuse holder, ring terminals, adhesive-lined heat shrink, and a transducer mounting bracket if the stock one won’t fit your transom. Wire it to its own fused circuit, never spliced into a nearby accessory, and follow the standards the pros use at the American Boat and Yacht Council.
Then there’s the slow-burn cost. Chart subscriptions renew, transducers get sheared off on trailer rollers, and connectors corrode if you don’t seal them. A screen that reboots underway is almost always a power or ground problem, not a dead unit, and steadier voltage helps, which is one quiet argument for a lithium boat battery upgrade if your electrical system is due.
Matching the spend to the boat
If I had to hand out three quick recommendations by budget, they’d look like this.
- Under $250: A 4 to 5 inch 2D or CHIRP unit with basic GPS. Perfect for ponds, small lakes, and kayaks.
- $300 to $700: A 7-inch CHIRP unit with down imaging and GPS charting. This covers 80 percent of real-world boaters and is where I point most people.
- $800 and up: Add side imaging and a bigger screen if you fish big or unfamiliar water often, or step toward a combo unit that also runs full navigation.
If you’re weighing a dedicated sonar against a screen that does charts too, the tradeoffs in the Chartplotter vs Fish Finder Combos comparison are worth ten minutes. And if you haven’t settled on features yet, the walkthrough in How to Choose a Fish Finder pairs neatly with the numbers here.
Spend where it counts, skip where it doesn’t
The best fish finder is the one that matches your water, wired cleanly and mounted right, without a single feature you bought to feel good in the store. For most people that’s a 7-inch CHIRP unit around $500, plus a careful install and a transducer you didn’t overpay for.
Buy the sonar for the fishing you actually do, not the fishing in the catalog photo. And whatever you mount, remember the screen isn’t safety gear. A fish finder shows you the bottom, but a radio shows everyone else where you are, so budget an afternoon to go installing a marine VHF radio too. Spend smart on the sonar, spend right on the wiring, and the thing will still be finding fish long after you’ve forgotten what it cost.
Frequently asked questions
How much does a good fish finder cost?
For most weekend boaters, a solid unit runs between $300 and $700. That buys a 5 to 7 inch screen, CHIRP sonar, down imaging, and GPS charting. Below that, $120 to $250 gets a basic pond and kayak unit, while serious anglers can spend $700 to $2,500 or more for side imaging, live sonar, and networking.
What features on a fish finder are a waste of money?
On a first unit, skip a touchscreen on any small display, networking ports if you only run one screen, premium charts for water you already know, and oversized 1kW transducers you will never use inshore. Live sonar is also worth skipping until you have mastered basic 2D and down imaging.
What is the total cost of a fish finder beyond the unit price?
Budget another $40 to $150 for the install: marine-grade wire, an inline fuse holder, ring terminals, heat shrink, and a transducer mount if the stock bracket does not fit. Ongoing costs include chart subscriptions and the occasional replacement transducer. The unit itself is usually about two-thirds of what you actually spend.
Do I need CHIRP or side imaging?
CHIRP is worth having and now comes on most units over about $300, since it separates fish from bottom far better than plain 2D sonar. Side imaging is a bigger jump in price and usually pushes a unit past $700. It is genuinely useful on unfamiliar or hard-fished water, but overkill on a small pond you already know.
How much power does a fish finder use?
Very little. A typical unit pulls under 1 amp at 12 volts, so you can wire it with light 14-gauge or 16-gauge marine wire and a small 3-amp inline fuse. Give it its own fused circuit rather than splicing into a nearby accessory, and route the transducer cable carefully to avoid interference.