Installing a Marine VHF Radio

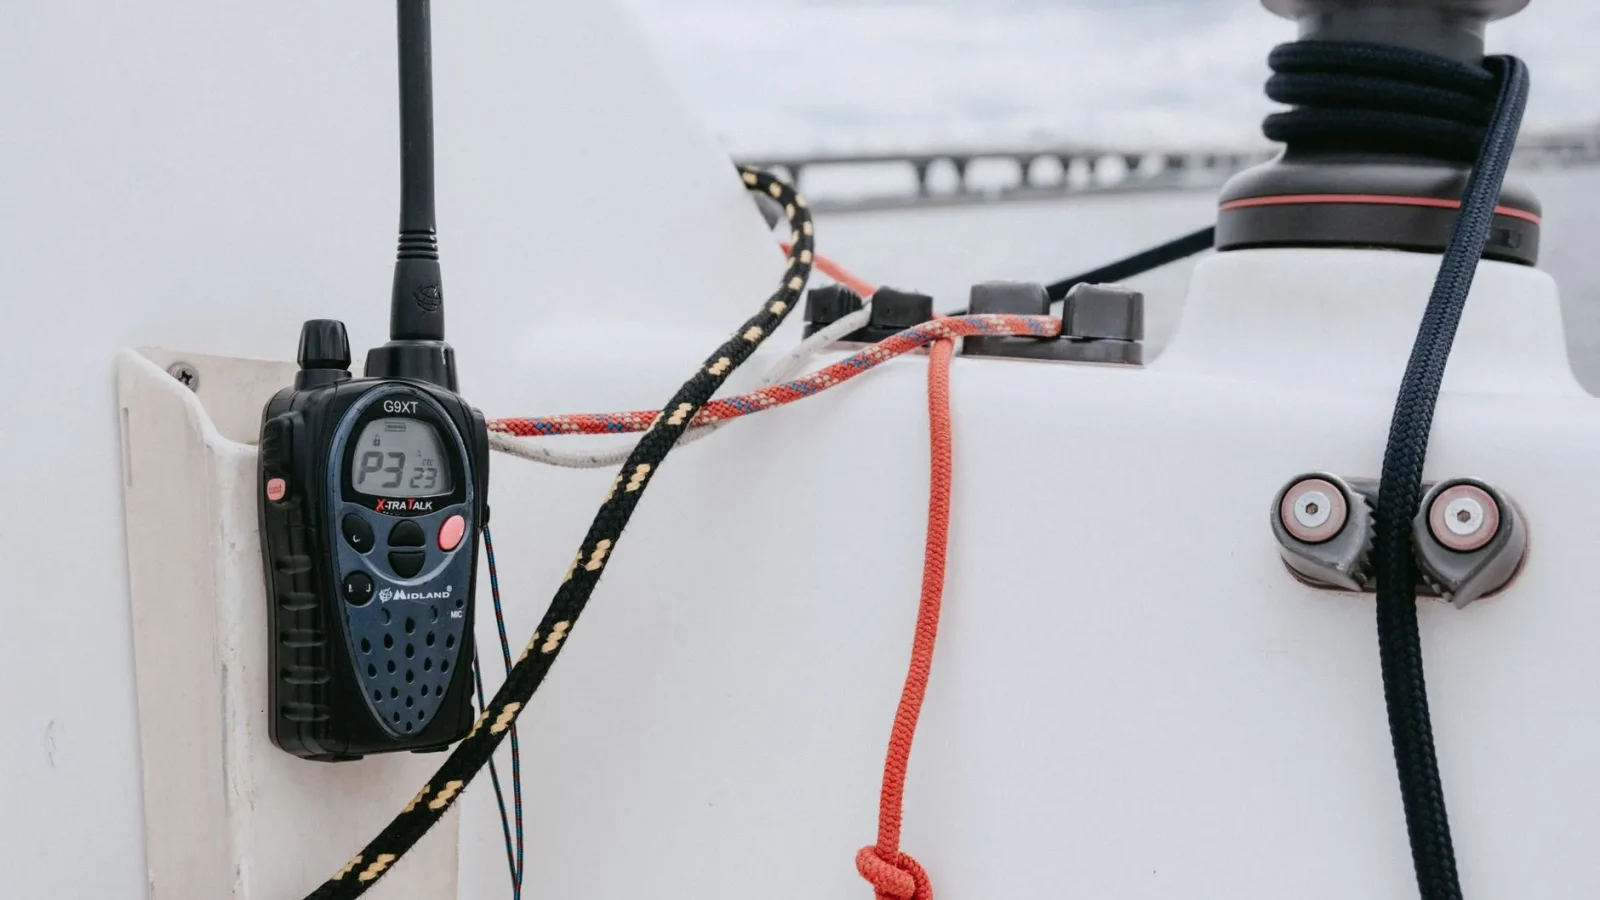
The first time you key up a VHF and hear the Coast Guard answer back clear as a phone call, you understand why this is the one piece of electronics I tell every boat owner to fit before the fancy screens. A marine VHF radio is the single most reliable way to call for help on the water, and unlike your phone, it broadcasts to every boat in range at once. It is also one of the most forgiving installs a practical owner can tackle in an afternoon. Get the mount, the power, and the antenna right, and you have a lifeline that works in the rain, out of cell range, with a wet, cold hand.
What you’ll need before you start
Gather everything first so you are not running to the marine store mid-job with the helm half apart. The parts list is short and most of it fits in one bag.
You want the radio itself, a matched VHF antenna, coax cable if it did not come with the antenna, marine tinned duplex wire, an inline fuse holder, ring and spade terminals, adhesive-lined heat shrink, and a good crimper. Tools are basic: a drill, a few bits, a screwdriver set, a heat gun, and a multimeter to confirm voltage before you trust anything.
If your boat’s 12V system is a mystery to you, sort out the basics first. Our Marine Electronics Setup Guide covers fusing, grounding, and bus bars so the radio ties into a clean, quiet power source instead of a tangle behind the dash.

Step 1: Pick the radio and understand DSC
Almost every modern fixed-mount VHF sold today includes DSC, which stands for Digital Selective Calling. Think of it as a red panic button that, with one press, transmits your boat’s identity and GPS position to the Coast Guard and nearby vessels automatically.
For DSC to work, the radio needs a GPS feed and an MMSI number, which is a nine-digit ID unique to your boat. Many newer radios have GPS built in; older or budget units need a position feed from your chartplotter. If you are choosing electronics as a package, it helps to plan the radio alongside your other gear, the same way I describe in our piece on Chartplotter vs Fish Finder Combos.
Step 2: Choose where the radio goes
The head unit needs to sit where you can reach the microphone and read the display from the helm, but not where spray hammers it constantly. Under a hardtop, in a dash cutout, or on a swing bracket overhead all work.
Leave room behind the unit for the coax connector and the power leads, which need a few inches of slack to seat without kinking. A radio jammed flush against a bulkhead with a sharply bent antenna cable is a service headache waiting to happen.
On smaller open boats, a flush-mount cutout looks tidy but is permanent, so measure twice. On a center console I rigged last spring, the owner had picked a spot that looked perfect until we realized the wheel spokes blocked the mic clip at full lock. Ten minutes with a cardboard template up front would have caught it.
Step 3: Mount and wire the antenna
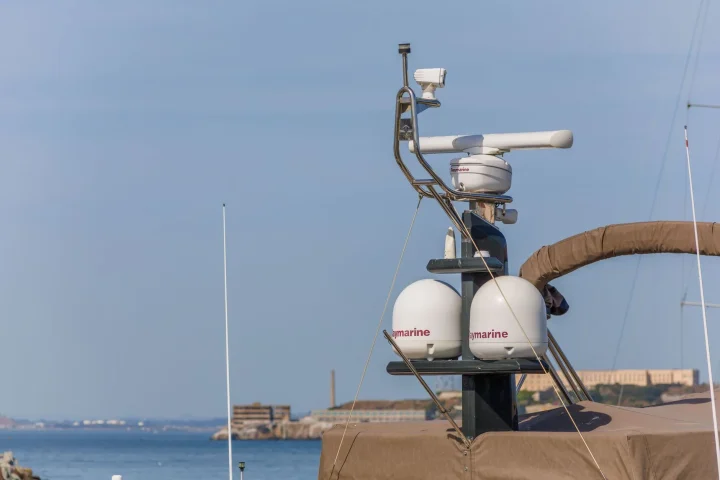
Here is the part people underestimate. The antenna does most of the work of getting your signal out, and its height is what determines your range, because VHF is line-of-sight. A radio talks about as far as its antenna can “see” over the curve of the earth.
Sailboats put a short 3-foot antenna at the masthead and reach 20-plus miles because of the height. Powerboats use a taller 8-foot antenna mounted as high as practical to make up for sitting low. Taller and higher almost always beats a bigger radio.
Run the coax in one continuous piece if you can, because every connection is a spot for water and signal loss. If you must cut it to feed through a tight space, use a proper marine PL-259 connector and seal it with adhesive heat shrink. Keep the antenna cable away from your power and sonar leads to avoid interference, a habit that also matters when mounting a sonar puck, as I cover in Transducer Types and Mounting.
Step 4: Run clean 12V power
A fixed VHF is a modest draw on receive, around 0.5 to 1 amp, but it can pull 5 to 6 amps when you key up at full 25-watt transmit. Size the wire and fuse for that transmit spike, not the idle load.
For most helm runs of 6 to 15 feet, 16-gauge marine tinned duplex wire is plenty; go to 14-gauge on longer runs or if you want headroom. Protect the positive lead with an inline fuse of 5 to 10 amps, placed within about 7 inches of where it taps the battery or bus bar, per marine wiring convention.
Connect positive to a switched or always-on 12V source and the negative to your common ground bus. Do not tap the radio off the bilge-pump or nav-light circuit; a dedicated feed keeps engine and pump noise off your transmissions.
Step 5: Program the MMSI and test
Before you screw anything down permanently, power the radio up and confirm it reads full battery voltage on the multimeter, ideally 12.6V or a touch higher. A radio starved of voltage will receive fine and then cut out the instant you transmit.
Enter your MMSI number carefully, because most radios only let you program it once without a factory reset. Confirm the GPS shows a position fix, since DSC distress calls are useless without it.
Then do a real radio check. Do not test on channel 16, the international distress and calling frequency; that channel is reserved for hailing and emergencies. Use channel 9 or a local designated check channel instead, or better, an automated radio-check service where available.
A worked example: rigging a 21-foot center console
Say you are fitting a 21-foot center console that runs coastal water, mostly within 15 miles of an inlet. Here is how the numbers fall out.
You would pick a fixed-mount DSC radio with built-in GPS, roughly $130 to $220, and an 8-foot fiberglass antenna on a ratchet mount at the hardtop, about $60 to $120. With the antenna tip sitting near 12 feet above the water, your realistic ship-to-shore range lands around 15 to 20 miles, which comfortably covers your run.
| Part | Spec chosen | Rough cost |
|---|---|---|
| Fixed VHF radio | 25 W, DSC, built-in GPS | $130 to $220 |
| Antenna | 8 ft fiberglass, 6 dB gain | $60 to $120 |
| Wire and fuse | 16-gauge tinned, 7 A inline fuse | $20 to $35 |
| Connectors and heat shrink | Marine crimp terminals, PL-259 | $15 to $25 |
For power, you run about 12 feet of 16-gauge tinned duplex from a 7-amp inline fuse at the bus bar to the radio, sized for the 6-amp transmit spike with room to spare. Total parts land near $250, and a careful DIYer finishes in about three hours, most of it spent fishing coax up to the hardtop. If your battery bank is also due for attention, this is a natural time to read the Lithium Boat Battery Upgrade Guide and knock out both jobs on the same weekend.
Keeping it working season after season
Once it is in, the radio asks almost nothing of you, but the antenna connection is worth an annual look. Salt creeps into the PL-259 fitting, and corrosion there quietly steals your range until a 20-mile radio only reaches five.
Every spring, unscrew the antenna connector, check for green corrosion, and reseat it with a dab of dielectric grease. Do a radio check on your first trip out so you find a problem at the dock, not offshore in a rising sea.
The mistake I see most weekends is a good radio wired to a corroded, undersized antenna lead, then blamed for “not reaching anybody.” Feed it clean 12V, get the antenna high and sealed, register that MMSI, and this becomes the one instrument on board you can bet your safety on. The federal rules and channel assignments behind marine VHF are worth a skim through the US Coast Guard Navigation Center before you head out.
Frequently asked questions
Do I need an MMSI number for a marine VHF radio?
You need one for the DSC distress feature to work. The MMSI is a nine-digit ID that the radio transmits with your position when you press the distress button. Recreational boaters staying in US waters can register a free MMSI through BoatUS, then program it into the radio before the first trip. Without it, the panic button sends no identity.
How far can a marine VHF radio reach?
Range depends almost entirely on antenna height, since VHF is line of sight. A powerboat with an 8-foot antenna mounted high on a hardtop typically reaches 15 to 20 miles ship to shore. A sailboat with a short antenna at the masthead can exceed 20 miles thanks to the height. A bigger radio does not extend range; a taller, higher antenna does.
What size wire and fuse does a VHF radio need?
Size for the transmit spike, not the idle draw. A fixed VHF pulls about 0.5 to 1 amp on receive but 5 to 6 amps at full 25-watt transmit. For most helm runs of 6 to 15 feet, use 16-gauge marine tinned duplex wire and protect the positive lead with a 5-amp to 10-amp inline fuse near the battery or bus bar.
Can I install a marine VHF radio myself?
Yes, it is one of the more forgiving marine installs for a practical owner. Most jobs take 2 to 4 hours and cost roughly $150 to $400 in parts for a mid-size boat. The main tasks are mounting the head unit, running the antenna coax high and sealed, wiring clean 12V power, and programming the MMSI. A multimeter and a good crimper are the tools that matter most.
Why should I not test my radio on channel 16?
Channel 16 is the international distress and calling frequency, reserved for hailing and emergencies. Doing routine radio checks there clogs a channel that other boaters may need to reach help. Use channel 9, a local designated check channel, or an automated radio-check service instead.