How to Choose a Fish Finder

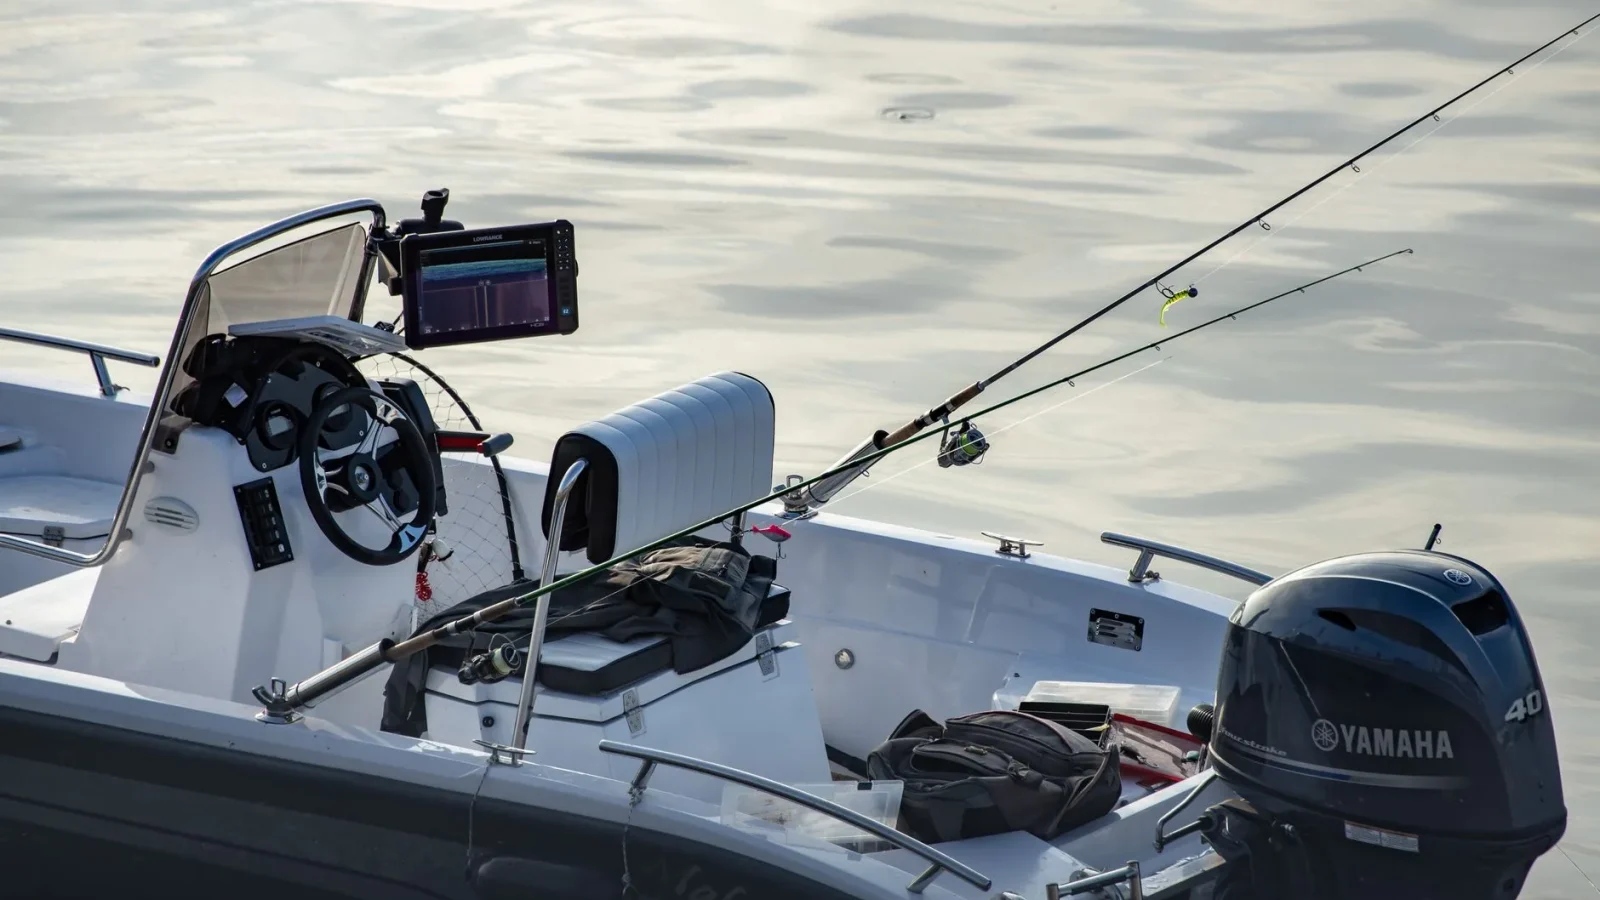
Walk any boat ramp on a Saturday and you’ll see two kinds of anglers: the ones staring confidently at a crisp sonar picture, and the ones squinting at a fuzzy blob wondering if that’s a bass or a beer can. The gear costs about the same. The difference is that one of them matched the unit to the boat, the water, and the wallet, and the other grabbed whatever was on the endcap. Picking well is not complicated once you know which four or five specs actually matter, so let’s go through it the way I’d walk a customer through it at the counter.
Step 1: Figure out how you actually fish
Before a single spec, be honest about your water. A guy chasing crappie in a 12-foot pond has almost nothing in common with someone running offshore in 300 feet, and the same fish finder will not serve both well.
Write down your typical depth range, whether you fish fresh or salt, and whether you’re mostly anchored or trolling. Those three answers narrow the field faster than any review site will.
A fish finder, if you’re new to the term, is just a sonar unit: it pings sound down through the water and draws what bounces back. Shallow water needs a wide, high-frequency picture. Deep water needs the machine to punch a signal down and hear the faint echo return, which is a different job entirely.

Step 2: Choose your frequency (this is the part people skip)
Frequency is measured in kilohertz (kHz), and it’s the single spec most beginners ignore. Higher frequencies (around 200 kHz and up) give you sharp detail in shallow water. Lower frequencies (50 to 83 kHz) reach deep but paint a coarser picture.
Most decent modern units use CHIRP sonar, which sweeps across a range of frequencies instead of pinging one. That sweep separates fish that a single-frequency unit would smear into one blob. If two fish are holding a foot apart near the bottom, CHIRP shows two arches; older tech shows one fat smudge.
Step 3: Pick a screen you can actually read
Screen size and resolution decide whether the data is useful or just pretty. A 4-inch screen is fine on a kayak or a tiller skiff where you’re a foot from the display. On a center console with a helm three feet away, that same screen is a squint fest.
I steer most first-time buyers toward a 5-inch to 7-inch display with at least 800×480 resolution. That’s the sweet spot where you can read depth, temperature, and fish arches at a glance without the price jumping into three figures of overkill.
Sunlight readability matters more than raw pixel count. A boat I rewired last spring had a gorgeous high-res unit the owner could not see at noon because it wasn’t a proper sunlight-viewable panel. He’d spent extra on resolution and saved on the one spec that ruined it.
| Water depth | Frequency to prioritize | Screen size | Rough price |
|---|---|---|---|
| Ponds, under 30 ft | High CHIRP (200 kHz) | 4 to 5 inch | $100 to $200 |
| Lakes, 30 to 100 ft | Mid/High CHIRP + down imaging | 5 to 7 inch | $250 to $500 |
| Coastal, 100 to 300 ft | Low/Mid CHIRP (50/83 kHz) | 7 to 9 inch | $500 to $1200 |
Step 4: Don’t ignore the transducer
The transducer is the puck that actually sends and receives the sonar ping, and it does half the work. A great display with a poorly mounted transducer gives you a garbage picture, full stop.
Most beginner units ship with a transom-mount transducer that clamps to the back of the boat below the waterline. That’s fine for smaller boats up to about 25 knots. Faster boats or fiberglass hulls sometimes want a thru-hull or an in-hull mount instead. I walk through all three options in detail in our guide to Transducer Types and Mounting, because getting this wrong is the number one reason a new unit disappoints.
Step 5: Sort out power and wiring before you buy
A fish finder is a low-draw device, usually 0.5 to 1.5 amps, but it still deserves a clean 12V feed. Run it on a dedicated circuit protected by a 2-amp or 3-amp fuse close to the battery, using 16-gauge marine tinned wire for a typical 6-foot to 10-foot run.
Do not tap it off your bilge pump or nav-light circuit. Shared circuits are where electrical noise lives, and noise shows up on your screen as speckled interference that looks a lot like fish that aren’t there.
If your whole 12V system is a rat’s nest, fix that first. Our Marine Electronics Setup Guide covers grounding, fusing, and bus bars so your electronics all share a quiet, common reference. And if you’re already thinking about a house-power overhaul, the Lithium Boat Battery Upgrade Guide pairs naturally with a fresh electronics install.
Step 6: Decide whether you want a combo
Here’s the fork in the road. A standalone fish finder does one job well and costs less. A combo unit adds GPS and chartplotting on the same screen, so you see your location, your track, and the bottom together.
For most weekend anglers who also like to mark a productive spot and find it again, the combo is worth it. I lay out the tradeoffs, including when a standalone still wins, in Chartplotter vs Fish Finder Combos. Buy the combo if you fish new water often; skip it if you always run the same familiar lake.
A worked example: rigging a 17-foot aluminum lake boat
Say you run a 17-foot aluminum boat on lakes that top out around 80 feet, and you troll and cast about equally. Here’s how the choices fall out with real numbers.
You’d want a 7-inch CHIRP combo with down imaging, roughly $350 to $450. That gives high-frequency detail in the shallows plus enough low-end reach for the 80-foot holes. A transom-mount transducer is fine at your 20-knot cruise, so no thru-hull expense.
For wiring, figure a 3-amp inline fuse, about 8 feet of 16-gauge tinned duplex wire, and a couple of ring terminals, call it $20 in parts. Total install time for a competent DIYer is around two hours, most of it spent fishing the wire to the battery. Out the door, you’re at roughly $400 for a rig that will genuinely change how you fish that lake. The American Boat and Yacht Council publishes the wiring standards worth following on that DC circuit; you can read the basics through ABYC.
Where to spend and where to save
Spend on the transducer and the sonar tech (CHIRP, and imaging if your water suits it). Save on screen glitz you won’t use, like touchscreens on a boat where you fish in gloves and spray.
The mistake I see most weekends is someone buying the biggest screen they can afford and mounting the transducer in ten minutes with zip ties. Flip that priority. A modest 5-inch unit with a properly placed transducer will out-fish a 9-inch display feeding off a bad puck every single trip. Get the install right, feed it clean 12V power, and the machine will show you exactly what’s under the boat. For general boating-safety and rigging references beyond electronics, BoatUS is a solid place to keep reading.
Frequently asked questions
What frequency fish finder do I need for my lake?
For most freshwater lakes under 100 feet, prioritize high CHIRP sonar around 200 kHz, which gives sharp detail in the shallows. If you fish deeper holes past 100 feet, look for a unit that also covers lower frequencies like 50 or 83 kHz. Many mid-range units span both ranges, so you get the best of both.
Do I really need CHIRP sonar or is single frequency fine?
CHIRP is worth the small premium and is now standard on most units over $150. It sweeps a range of frequencies instead of pinging one, which separates fish that a single-frequency unit would smear into one blob. On a budget pond rig you can live without it, but for most anglers it is the easiest upgrade to justify.
How much power does a fish finder draw?
Most fish finders draw only about 0.5 to 1.5 amps, so they are a very light load on your 12V system. Even so, give it a dedicated circuit with a 2-amp or 3-amp fuse and 16-gauge marine tinned wire. Sharing a circuit with pumps or lights invites electrical noise that shows up as false marks on the screen.
Can I mount the transducer myself?
Yes, a transom-mount transducer is a straightforward DIY job on most boats under 25 knots. The key is mounting it on a smooth section of hull with clean water flow, not behind a strake, rivet, or roller. Bad placement gives a clean picture at rest and static at speed, so take your time with the location.
Should I buy a standalone fish finder or a combo unit?
Buy the combo with GPS and chartplotting if you fish new water often and want to mark and return to productive spots. Choose a standalone unit if you always run the same familiar lake and want to save money. Combos cost more but put your location, track, and the bottom on one screen.