Marine Alternator Upgrade Basics

Most boats leave the factory with an alternator sized to keep the starting battery topped off and run the nav lights. That was fine when a boat was a motor, a bilge pump, and a VHF radio. Add a fridge, a chartplotter, and a bank of lithium batteries, and that stock 55-amp unit starts to look like a garden hose trying to fill a swimming pool.
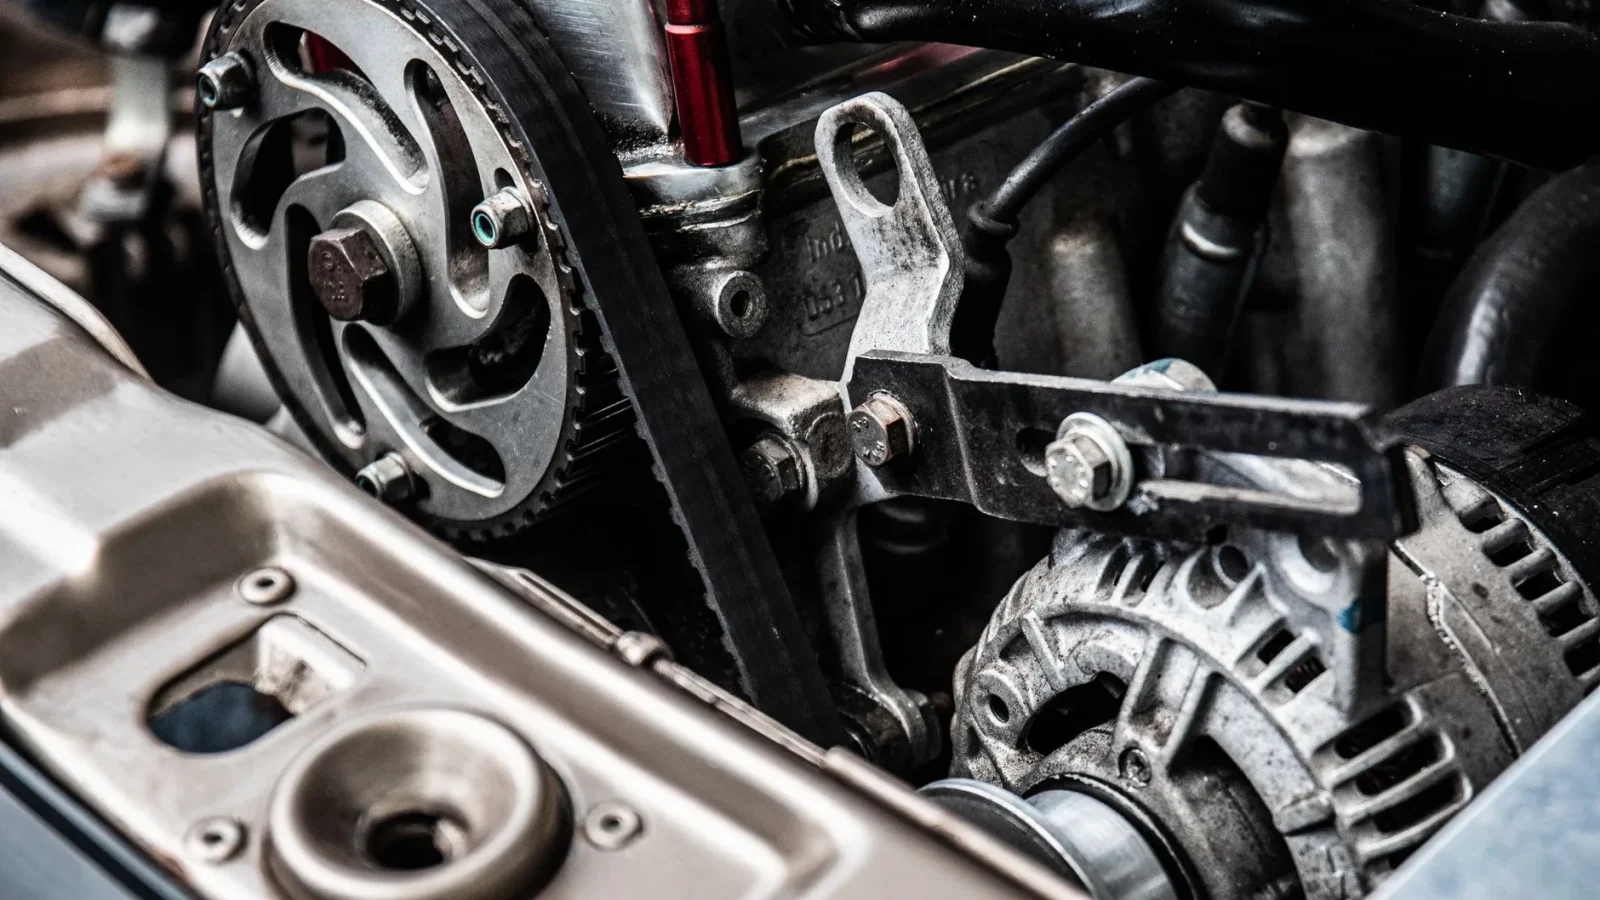
An alternator is simply the belt-driven generator bolted to your engine that turns engine rotation into electricity. Upgrade it, and you can charge a big house bank in a couple of hours of motoring instead of half a day. That is the promise, and the reality, once you understand a few fundamentals.
Why the stock alternator falls short
Factory alternators are built to a price and a purpose. On a gas outboard or a small diesel, that usually means 40 to 80 amps, which is plenty for a lead-acid starting battery and light loads.
The trouble starts when you build a house bank, the separate batteries that run everything except the engine starter. A modern cruiser might carry 400 amp-hours of house capacity. A stock alternator with a basic internal regulator will taper its output way back long before that bank is full, because it was never designed to push hard for long.
Lithium changes the math again. A lithium bank will happily accept everything you throw at it right up to nearly full, which means a small alternator gets asked to run at maximum output for an hour or more. That is exactly the condition it was not built to survive.
The four parts that have to match
An alternator upgrade is never just the alternator. Think of it as a system with four pieces, and every piece has to be sized for the others.
- The alternator itself, rated in amps at a given RPM and temperature.
- The regulator, the brain that tells the alternator how hard to work and when to back off.
- The wiring and connections, which carry the current without overheating or dropping voltage.
- The belt and pulley, which physically transfer engine power to the alternator.
Skip the balance and you get problems. I have seen a beautiful 170-amp alternator throttled to a crawl because it was still feeding through the original 10-gauge factory wire. The alternator was fine. The wire was the bottleneck.
Sizing the alternator to your engine
Here is the part beginners miss: the alternator is driven by your engine, so it steals horsepower. A 100-amp alternator working hard pulls roughly 2 to 4 horsepower off the crankshaft. On a small 20-horsepower auxiliary diesel, that is a real bite.
A rough rule many electricians use is to keep continuous alternator output under about a third of the engine’s rated horsepower in amps. A 30-horsepower diesel comfortably supports something in the 100 to 120-amp range. Push a 200-amp unit on that same engine and you will lug it, glaze the belt, and overheat both.
The regulator is where the real gains hide
The regulator controls the alternator’s field, meaning how strongly it charges. A basic internal regulator holds a fixed voltage and does not care about battery temperature, state of charge, or alternator heat.
An external smart regulator changes that completely. It runs a proper multi-stage charge profile, watches temperature with sensors on the battery and the alternator, and can pull output back before anything cooks. Brands like Balmar and Wakespeed are the usual names here.
Here is the surprise for a lot of owners: swapping to an external smart regulator on your existing alternator can nearly double useful charging in the real world, because the stock regulator was leaving so much on the table. Sometimes you do not need a bigger alternator at all, just a smarter one.
If you are running lithium, a smart regulator is not optional. Lithium demands a specific charge profile and, critically, a way to protect the alternator from running wide open until it fails. The American Boat and Yacht Council covers alternator and charging standards in its technical standards, and it is worth understanding those before you commit to a lithium conversion.
Wiring, fusing, and the boring stuff that saves boats
Current needs copper. The bigger the alternator, the fatter the cable, and this is not where you save money.
As a starting point for output cable, figure the run length and the amps, then size generously. A 150-amp alternator with a battery bank several feet away wants 2-gauge or even 1/0-gauge cable, not the thin factory harness. Undersized wire drops voltage, wastes charge as heat, and in a bad case starts a fire.
| Alternator output | Suggested output cable (short run under 5 ft) | Main fuse |
|---|---|---|
| 60-80 amps | 6-gauge | 80-100 amp |
| 100-120 amps | 4-gauge | 125-150 amp |
| 150-170 amps | 2-gauge | 175-200 amp |
| 200 amps and up | 1/0-gauge | 250 amp |
Fuse the alternator output close to the battery, and use marine-grade tinned cable with proper crimped and heat-shrunk lugs. Automotive wire corrodes in a salt environment, and corroded connections are resistance, and resistance is heat.
The DC-DC charger alternative
Sometimes the smartest alternator upgrade is not touching the alternator. A DC-DC charger sits between your engine’s charging output and your house bank, taking whatever the stock alternator makes and converting it into a controlled charge profile for lithium or a second bank.
This is often the cleaner path on newer boats with a sealed, computer-controlled engine you do not want to modify. If that describes your setup, read our walkthrough on installing a DC-DC charger on a boat before you go buying a high-output alternator you may not need.
The tradeoff is capacity. A typical DC-DC charger moves 20 to 60 amps, so it is gentler on the engine but slower than a proper high-output alternator feeding directly. For a modest lithium bank it is often exactly right.
A real example from the dock
A boat I rewired last spring was a 34-foot sailboat with a new 300 amp-hour lithium bank and the original 60-amp alternator. The owner could not understand why an hour of motoring barely moved the state of charge, and why the alternator smelled hot.
The fix was not a monster alternator. We fitted a quality 120-amp unit sized to the 40-horsepower diesel, added an external smart regulator with an alternator temperature sensor, upgraded the output cable from 10-gauge to 4-gauge, and added a 150-amp fuse. Parts came in around 900 dollars.
Charging went from an anemic trickle to roughly 100 amps of real output, and the alternator now runs warm instead of scorching, because the regulator backs it off when the sensor says so. That temperature sensor did as much for reliability as the bigger alternator did for speed.
How this fits your wider electrical system
An alternator upgrade rarely happens in isolation. If you are adding lithium and high-output charging, you are usually also thinking about an inverter to run AC appliances, and those decisions talk to each other.
It helps to zoom out and plan the whole picture. Our boat inverter and charger guide is the pillar that ties charging sources, batteries, and inverters together, and it is the right place to start if you are building a system from scratch. From there, working out how to size a marine inverter keeps your loads honest, and understanding pure sine versus modified sine inverters saves you from buying the wrong box for sensitive electronics.
If you are laying out the whole helm and DC system, our broader marine electronics setup guide shows how charging, batteries, and instruments come together on a real boat.
Where to begin on your own boat
Start by measuring, not shopping. Note your engine’s rated horsepower, your existing alternator’s amp rating, your house bank size and chemistry, and the length of the cable run from alternator to battery. Those four numbers decide almost everything.
If your bank is lead-acid and modest, a smart external regulator alone may transform your charging for a few hundred dollars. If you have gone lithium, plan the alternator, regulator, wiring, and cooling as one package, and do not cheap out on the belt. For safety-related sizing and installation practice, the boater education resources at BoatUS are a solid, plain-language reference.
Get those pieces matched and you will motor into an anchorage with a full bank, a cool engine room, and one less thing to worry about after dark.
Frequently asked questions
Do I really need a bigger alternator, or just a better regulator?
For many lead-acid setups, an external smart regulator alone nearly doubles useful charging because the stock regulator was holding output back. If you have added a large lithium bank, you usually need both a properly sized alternator and a smart regulator with temperature sensing. Measure your bank size and engine horsepower before deciding.
How big an alternator can my engine handle?
A rough rule is to keep continuous alternator output under about a third of the engine's rated horsepower in amps. A 30-horsepower diesel comfortably supports roughly 100 to 120 amps. Going much larger will lug the engine, overheat the alternator, and glaze the belt.
What cable size do I need for a high-output alternator?
Size the output cable to the amps and the run length, and err generous. A 100 to 120-amp alternator on a short run wants about 4-gauge, while a 150-amp unit wants 2-gauge. Always use marine-grade tinned cable and fuse the output close to the battery.
Is a DC-DC charger a good alternative to an alternator upgrade?
Often yes, especially on newer boats with sealed, computer-controlled engines you do not want to modify. A DC-DC charger takes the stock alternator output and converts it into a controlled profile for lithium or a second bank. The tradeoff is speed, since most units move 20 to 60 amps rather than 100 or more.
What does an alternator upgrade cost?
On a typical sailboat or trawler, budget roughly 400 to 1,500 dollars for parts depending on whether you replace the alternator, add a smart regulator, and upgrade wiring. A real dockside job I did came in near 900 dollars for a 120-amp alternator, external regulator, new cable, and a fuse. Add about a day of labor if you hire it out.